The first time I lit charcoal without lighter fluid, I was sixty percent sure it was not going to work. I had a picture in my head of chimney starters as the province of people with more patience than I have, the kind who fold their newspaper into neat strips and enjoy waiting. Then the petrochemical smell that hangs in the air after every fluid-lit cook, and that faint chemical aftertaste hiding under the pepper on a steak, finally got to me. So I bought a Weber chimney starter, the same one most serious backyard cooks end up recommending after a season or two. Ten minutes later the coals were ashing over clean, and I have not opened a can of lighter fluid since.
This is the method I have used for three seasons now, from quick weeknight burgers to an all-day brisket smoke. It is not complicated, but it is a little more deliberate than splashing fluid around and striking a match. You need three things: crumpled newspaper, a chimney starter, and the few minutes you were going to spend standing by the grill anyway. The payoff is coals with no chemical taste and a cook that starts the way it is supposed to start, instead of one you are already fighting before the first piece of food hits the grate.
I say all this because I tried the other routes first, like most people. I used match-light briquettes for a year and never shook the solvent note that came off them at ignition. I owned an electric starter, a loop that glows red and sits in the coals, and it worked until the outlet side of it became the problem, because I cook in the yard away from the house and stringing a cord across the lawn got old fast. And for one frustrating spell I just plunked unlit charcoal in the kettle, lit a rolled newspaper in the middle of the pile, and watched it smolder out twice before doing anything useful. The chimney starter was the honest answer to all of it, and the Weber version is the one that has held up to hundreds of burns without me wanting to replace it.
The Chimney That Killed My Lighter Fluid Habit
A Weber Rapidfire is the same chimney I reach for before every single charcoal cook. It lights a full load in about twenty minutes with nothing but paper. Grab it here and you can skip the fluid starting tonight.
Amazon Check Today's Price on Amazon →Step 1: Load the Chimney and Set Your Paper
Crumple a handful of newspaper into loose balls about the size of your fist and set them in the bottom chamber of the chimney. Do not pack them tight. The draw of air through the side vents is what feeds the fire, and a tight wad of paper blocks that draft instead of helping it. Fill the top barrel with charcoal up to the rim. If you are only running a half chimney for burgers, fill to the rim anyway and bank the extra coals in a cool corner of the kettle after dumping. A full load spreads the heat through the barrel and lights far more evenly than a half load, which tends to leave a few unlit briquettes sitting in the bottom.
The amount of paper matters less than people think. Three or four loose balls is plenty, and the instinct to build a whole newspaper fortress under the chimney is counterproductive. When the load catches, that pile of paper turns into a column of flame and ash that blows up through the vents and makes a mess, and it burns the paper faster than the coals can use it. Loose, evenly placed balls keep a steady, low draft that lasts the ten minutes you actually need.
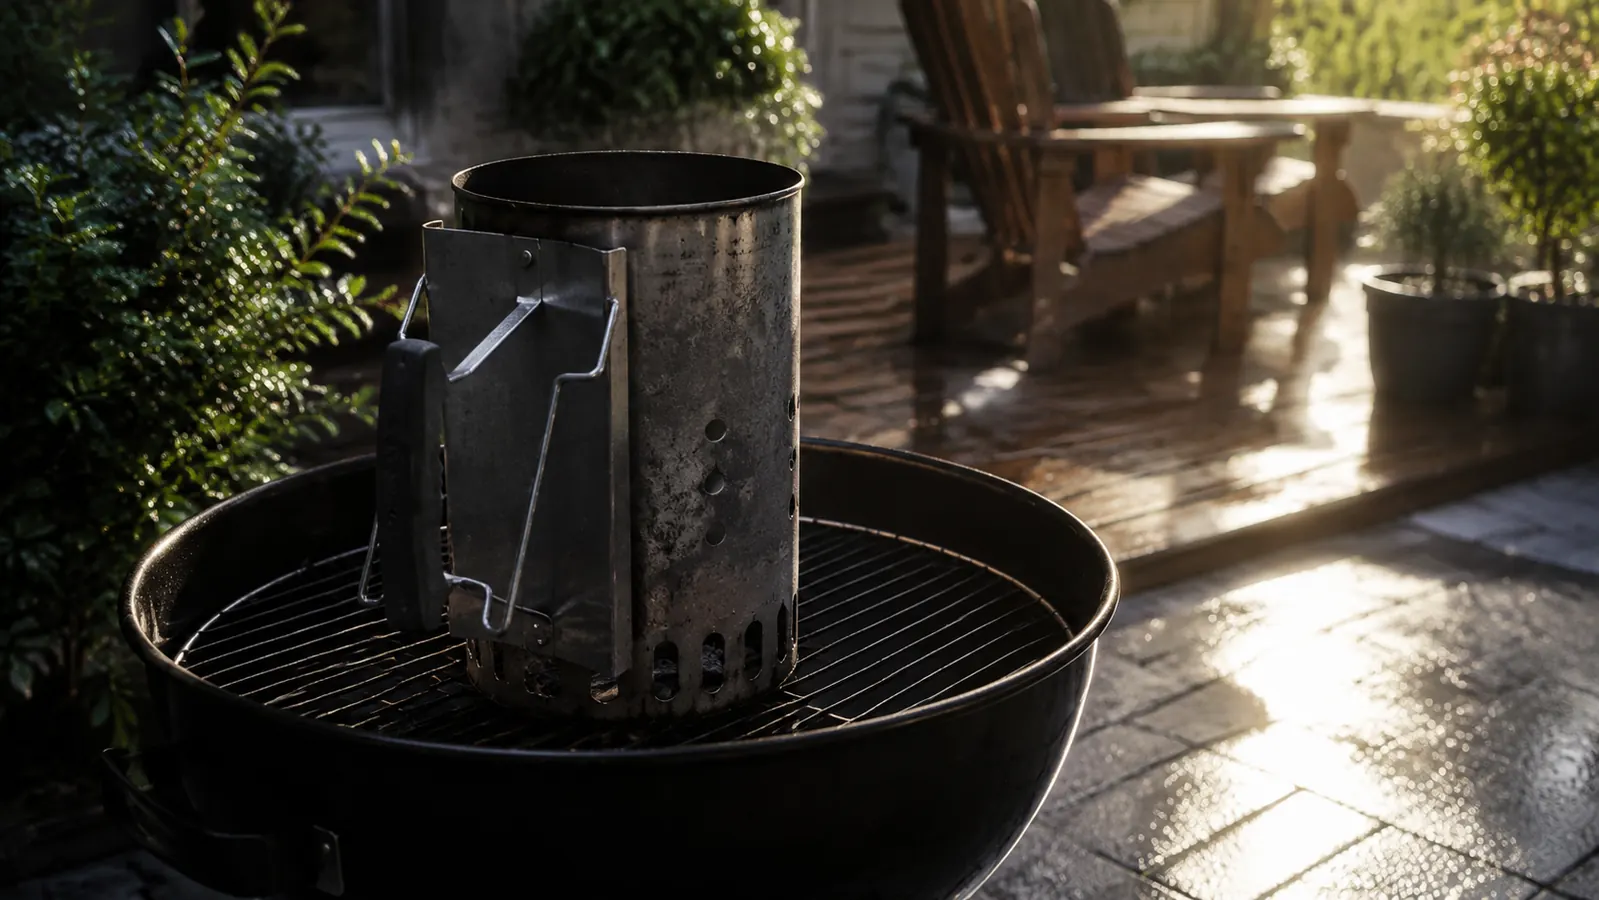
Set the chimney on a flat, stable, heatproof surface with clear space underneath. I rest it on the bottom grate of the kettle itself, sitting cold, so the vents are fully open to the air. That airflow underneath is the whole secret. If there is no gap under the chimney, on a paver or a solid table, the fire will struggle to draw and your twenty minutes turns into forty. One seasonal detail I learned the hard way: do not set up on wet grass. The water steams up and cools the coals before they can catch.
Step 2: Light the Paper, Not the Coals
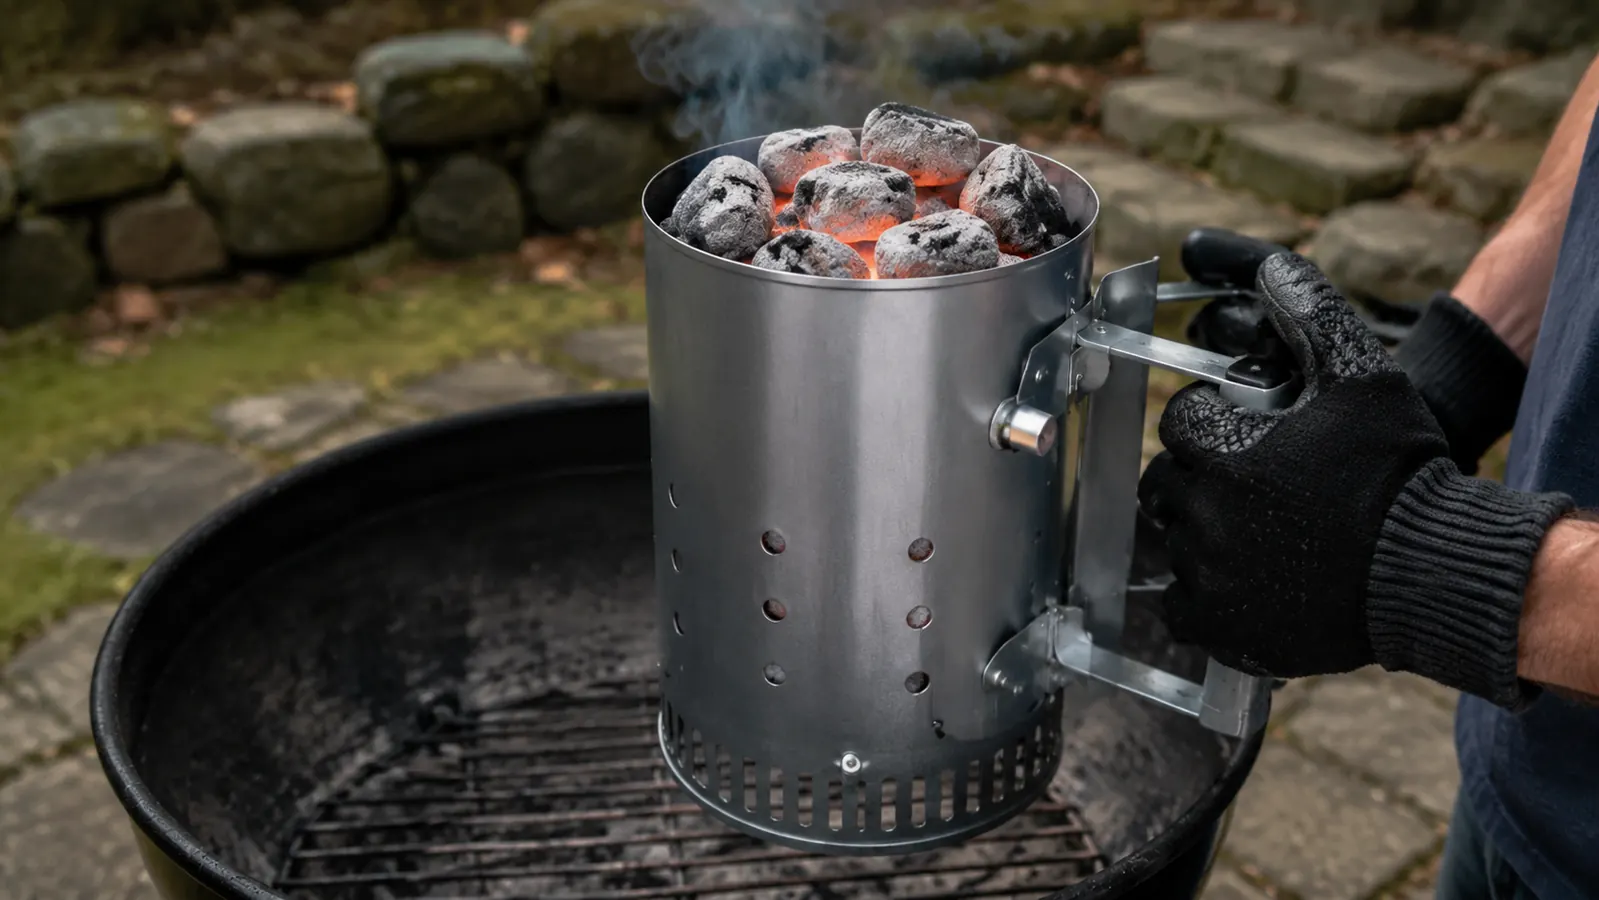
Reach a lit match through the bottom vents and touch three or four of the newspaper balls, spread around the chamber rather than all in one corner. The paper is the only thing you want to ignite. The chimney does the rest of the work by pulling air in through the bottom and pushing it out the top, and that column of rising heat is what catches the coals. Inside the first few seconds you should see flame take the paper and hear the soft, steady draw of the chimney feeding itself. That sound is the good one. It means the draft is set up properly.
Resist the urge to touch the charcoal directly with anything flammable, including a quick squirt of the old fluid out of habit. That defeats the entire exercise. What you are after is a slow, even burn that climbs from the bottom of the load rather than attacking one face of it. In about ten minutes the flames work their way up and the top layer begins to catch. Because the heat rises evenly through the whole barrel, the coals light together instead of a few glowing briquettes sitting next to a pile that will never catch without help.
Step 3: Wait for the Ash
This is the step that trips up most new chimney users, and it is the one I had to unlearn on my own. People dump too early. You want the top coals to show a thin film of gray ash, the loud smoking to have settled, and a steady orange glow across the top of the load. On the Weber Rapidfire that usually lands around fifteen to twenty minutes after lighting on a calm evening, and a little longer on a breezy one when the draft pulls heat faster out the top.
The shorthand I trust more than a clock: hold your hand six inches above the grate. When the coals are ready you can only keep it there for a second or two before the heat drives it back. If you still see black ends on the briquettes and active flames licking through the top, give them another five minutes. A chimney dumped too soon gives you a stalled, bitter fire that you end up fighting for the whole cook, adding cold charcoal to fix the heat and smoking up a batch of food that never quite gets going. Ten patient extra minutes are cheaper than a ruined dinner.
While you wait, you can organize the rest of the session. Lay out the rub, trays, the wood chunks for later, and whatever you need within reach of the grill. The whole point of a fluid-free start is that the smoke stays clean, so there is no reason to hurry the coals along. I usually use this stretch to sharpen my knife or prep the meat, and by the time I am done the chimney is flashing gray.
Step 4: Dump and Arrange the Coals
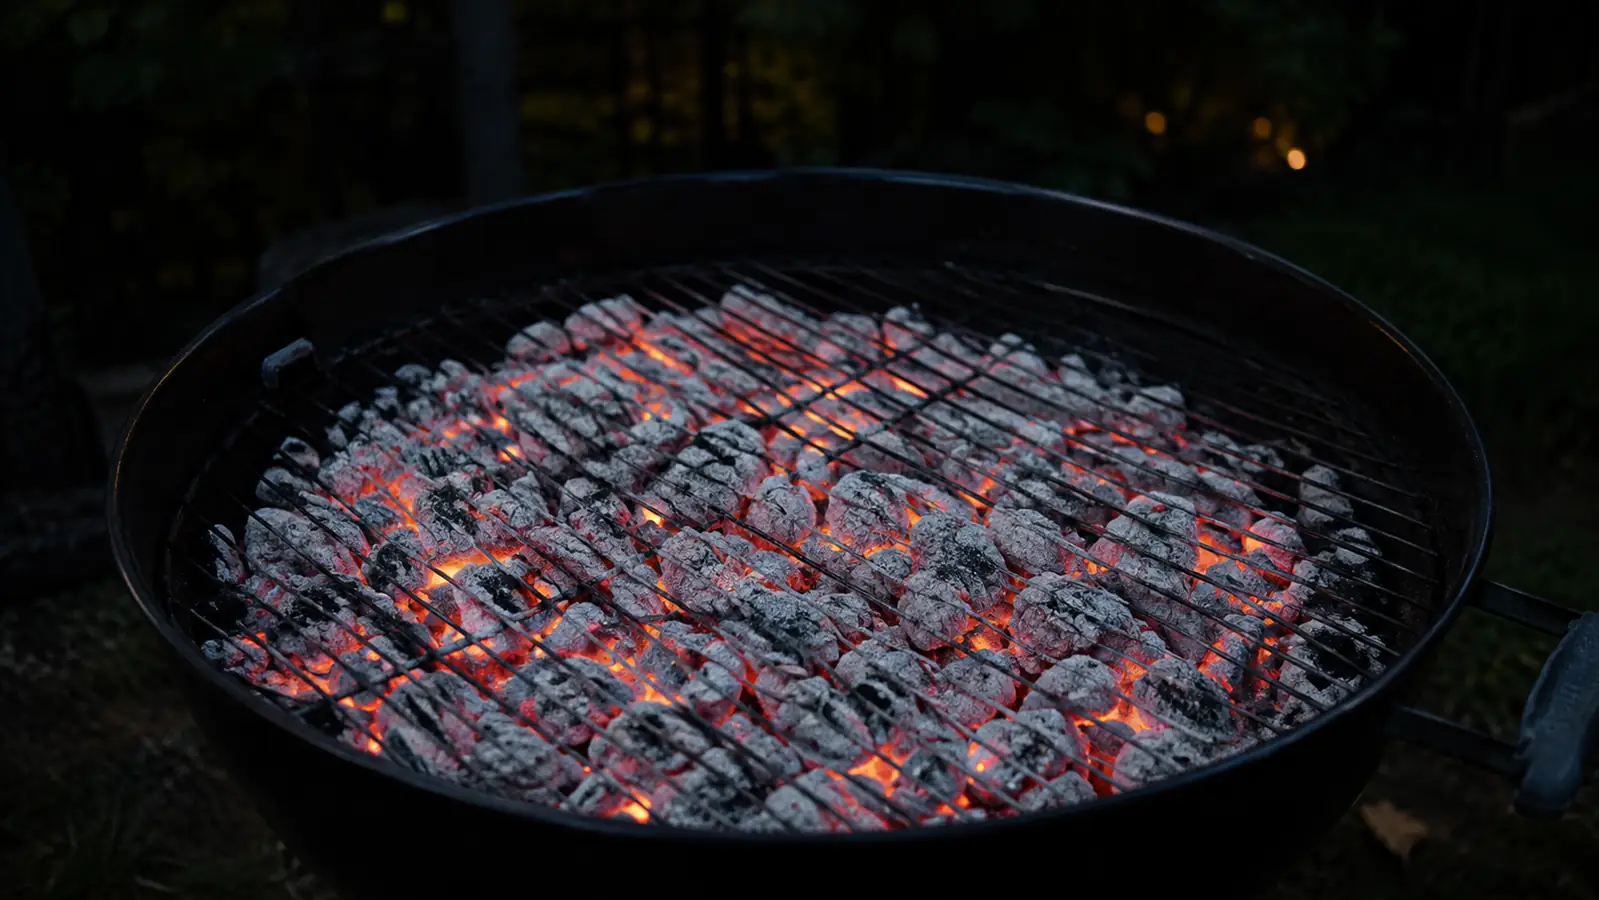
Put on a heat glove, grip the handle, and pour the chimney out into the grill. For direct grilling, spread the coals into a single even layer across the grate. For a high-heat sear I bank the coals to one side and leave the other side clear, which gives me a zone of runaway heat when I need it and a cooler spot to move food to when it is done. That single-sided layout is where most of my everyday steak and burger cooks happen now.
This is the moment a chimney earns its place next to the kettle compared to fluid. Because the coals lit evenly, they dump already ashed and ready to cook. There are no flare-ups from pooled fluid, no gray patches of unlit charcoal smothering the fire, and none of that one-note petroleum taint lingering in the smoke. You are cooking within a minute or two of the dump instead of feeding a half-dead fire for the next twenty minutes and waiting for the chemical smell to burn off the grate. It is the difference between a cook that starts only when you are ready and one that is ready to go the second the coals hit the grill.
Step 5: Set Up for a Long Smoke
On the days I am smoking a pork shoulder or a rack of ribs, I run the chimney the exact same way right up to the dump, then arrange the coals on one half of the kettle, set a drip pan full of water on the other half, drop a chunk or two of wood onto the coals, and tune the vents to hold a low temperature. The chimney's only job is to deliver clean, even ignition fast. Everything after that is the cook's to control, and starting from an even white-ashed bed makes the steady low fire far easier to hold than starting from a mound of half-lit charcoal that you are still coaxing along.
One small habit that tightened up my cooks: tap the coals flat after dumping instead of leaving them in a mound. A low, even bed does not spike as hard in the first hour, and it gives the drip pan and the grate a consistent layer of heat to work against. A tall mound of new coals runs hot in the middle and barely warms the edges, which is exactly the unevenness that makes brisket stall turn into brisket frustration. It takes five seconds and saves you thirty minutes of babysitting a fire that refuses to settle.
What Else Helps
A chimney makes lighting charcoal easy, but three small habits make the whole routine smoother over a season. Keep your charcoal in a dry spot, because damp briquettes steam instead of holding a clean burn, and the first time you light soggy charcoal with a chimney you will smell it in the smoke and wonder what changed. Store the bag under a covered shelf or in a dry shed, not leaning against the house where the rain runs down the wall. For the dump, a good heat glove saves your hands far more often than you expect, especially the first time you tip a full chimney of live coals and the handle swings back toward your knuckles.
And if you cook with lump charcoal instead of briquettes, do not fill the chimney all the way to the rim. Lump comes in uneven, gnarled pieces that settle differently than uniform briquettes, so a slightly heaping load can jam the airflow and snuff the draft partway up. A chimney filled to about three quarters with lump lights cleaner and gives you the same cook. None of these are must-have purchases. They are the small adjustments you figure out after a few fluid-free sessions, the kind that turn a method that works into one that disappears into the background of the cook entirely.
The pattern that converts everyone is simple: light the paper, not the coals, and resist dumping until you see gray ash on top.
That is the whole routine. Once the chimney becomes the default, the lighter fluid disappears and you stop thinking about how the coals get hot at all. The smell goes away, the food tastes like the wood and rub you chose instead of the starter you sprayed, and a charcoal cook becomes a quieter, more patient thing. If you have never done it this way, give the method one honest try on a weekend when nobody is hungry and the timeline is flexible. One clean, fluid-free cook is usually all it takes to convert you, the same way it converted me three seasons back.
Drop the Fluid and Start Tonight
You do not need another weekend of that aftertaste. The Weber chimney starter is durable, simple, and thirty-five minutes from box to clean, ashed coals. Check today's price on Amazon and put the lighter fluid in the trash.
Amazon Check Today's Price on Amazon →