
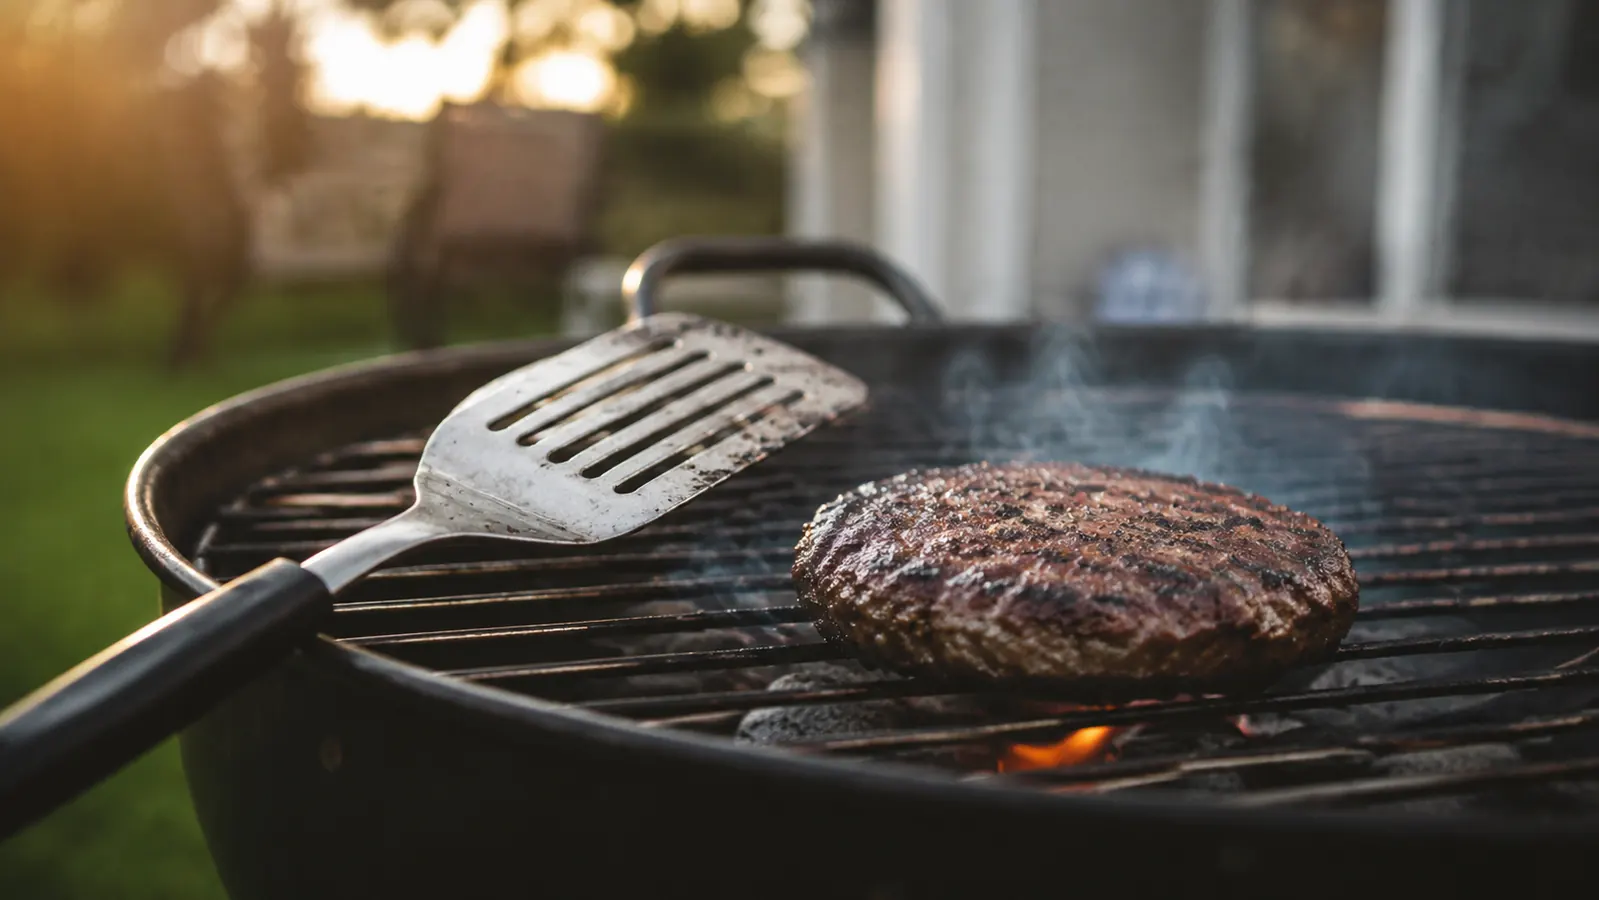
I pressed on burgers for fifteen years before I realized the person squeezing the juice out of them was me. Every push of the spatula into the patty, every jab at a burger stuck to the grate, every trench I carved trying to get the flipper under the meat, was me forcing the water and fat out of the beef and down onto the coals. The beef was fine and the grill was fine. The fix was the technique and the tool together, and it started the day I hung a Chef Craft heavy duty turner beside the grill and finally had a blade that refused to bend no matter how hard I leaned on the old habit.
The whole problem collapses into five moves once you stop fighting the patty: wait for the crust to release, slide a flat blade under, lift a steady inch, roll the wrist, and then put the spatula down and let the burger finish alone. Juice stays inside because it is never the resist. That is the sequence I use at every cook, spelled out below in the order it needs to happen, plus where most people break it.
Do not test this on the expensive steaks you are trying to impress. Use a cheap pack of weeknight burgers, the ones nobody photographs, and give the method three or four honest tries. The habit breaks quickly and then never comes back. What you want in your wrist is not a gimmick, it is one reliable sequence that works for any patty, any grill, any company.
Start with a blade that refuses to bend.
Every step in this method assumes your turner is stiff enough to carry a whole patty without folding. The Chef Craft heavy duty stainless spatula is 13.5 inches of solid steel, wide enough to catch a half pound burger corner to corner, and at its current price it is one of the cheapest upgrades in the entire cookout. It is the tool I reach for on every flip in this guide.
Amazon Check Today's Price on Amazon →Step 1: Get a Blade That Carries the Whole Patty
The method starts before the meat touches the grate, and it starts with the blade. A good turner needs to be stiff enough to hold the whole patty and wide enough to catch it corner to corner. A thin, bendy kitchen flipper folds in the middle, half the patty droops past the edge, and the instant you lift you are forced to press down to keep it level. I have flipped some with those for years, and trust me, that droop is the origin of about half of the crushing that happens at a grill.
The Chef Craft heavy duty turner is a single piece of steel from handle to tip, so there is no flex under half a pound of meat and no bend to brace against. That stiffness is what lets the blade go fully to the other side before you lift, which is the quiet rest of the whole method. The blade is a tray, not a shovel, and a tray that does not bend does not need help from your other hand pushing down to stay steady.
If the only spatula you own is the thin one that came with a long-ago pan set, this one change fixes more of your cookout than any single tip in a blog post. The rest of this guide assumes a blade that will let the burger sit on its own. After that the problems stop being mechanics and become timing, which is the part you actually can practice.
Step 2: Wait for the Crust to Release Trust
The patty will tell you when it is ready, and the sign is the crust. A burger on a hot grate sticks for the first minute or two, until the underside has formed a dry, laced crust that shrinks slightly and pulls the meat free of the steel. If you try to flip before that release, you do not flip the burger, you tear it, lose the crust that was building, and leave half of the patty behind on the grate.
For a half pound patty of 80/20 ground chuck on a medium-hot kettle, that release happens around the four minute mark. You can see it first on the edge: the raw pink turns deep brown, a little bead of juice appears on the top, and the patty shifts from glued to loose and starts nudging freely in the oil of the grates. That is the moment your blade guard gets permission.
The easy test without breaking anything: slide the tip of the bloodless under by a corner and lift a little. If the patty lifts clean and whole, ready. If the blade pushes and the meat tears, not ready. Leave it alone and check again in another minute. Waiting is not passive; you are literally cooking the crust that holds the juice in.
Step 3: Slide, Do Not Chop
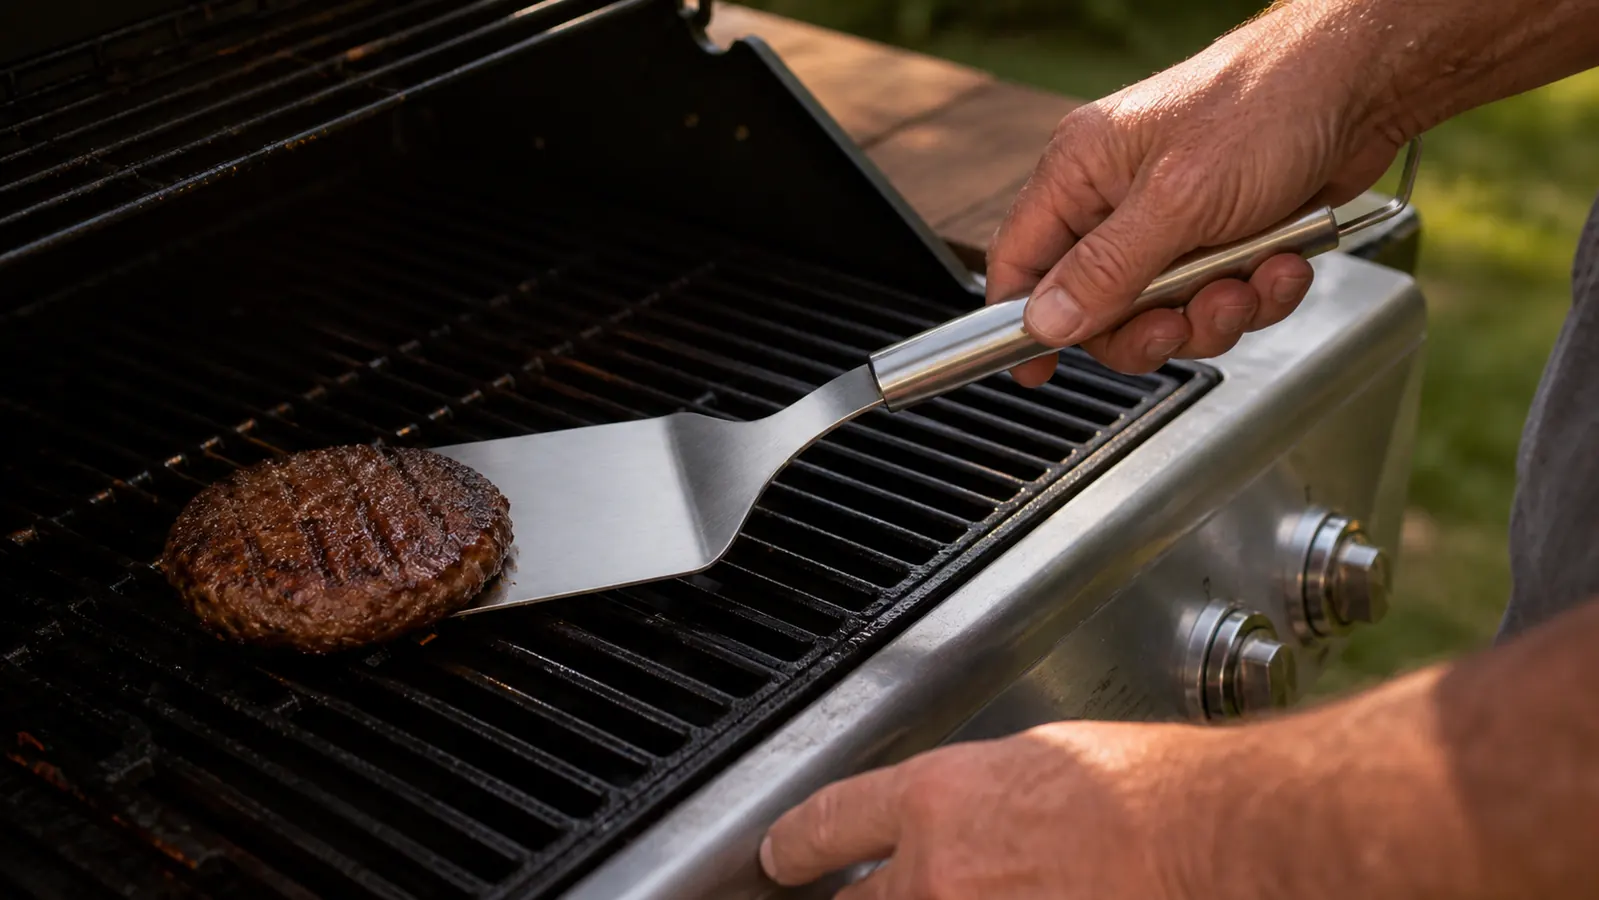
Here is where most flips become squash: the person brings the spatula down onto the top of the meat and chops their way underneath. That describes the old habit I am asking you to replace with a single slide. Keep the blade perfectly flat, at the same plane as the grate, and slide it forward in one smooth sweep until the steel circled under the entire patty. The crust has already done its unchanging part, the blade has almost nothing to cut and the meat just rises onto the steel.
Keep the blade low and level. You are not reaching under to grab, you are not levering with the hinge, and you are not carving the veal open to let the juice out. You are running a flat sheet under the patty and letting the patty own it. A wide long stainless blade will get far enough that the tip of it goes all the way past the other side; that distance is how you know you are completely under and safe to lift.
If the blade hits real resistance, do not force. The meat tells the truth: if it does not slide, the crust is not ready and you have simply timed it too early. Pull the blade back out, let the patty keep cooking and then slide again 60 seconds later. Most flares is full-fixing on you and the blade never needs a stab when the timing is right.
Step 4: Flip With the Wrist, Not the Arm
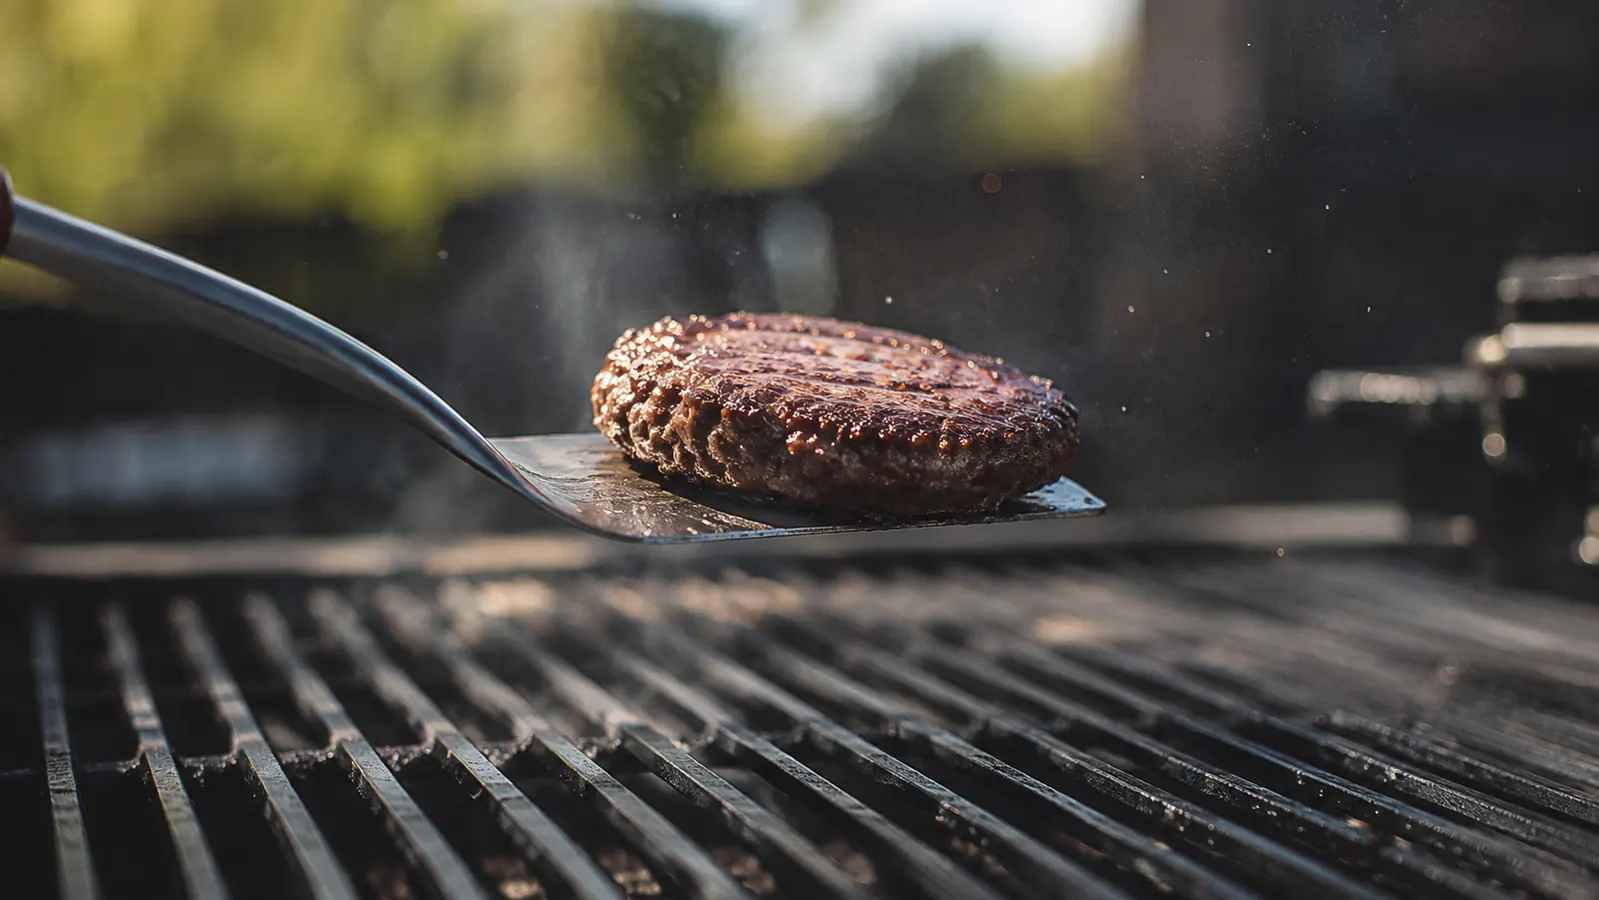
The flip itself is short, low, and quiet. Hold the whole handle, keep the blade flat, tilt the patty up only about an inch off the grate and then let your wrist turn a quarter turn, the way you would turn a steering wheel in a soft bend. The patty slides off its center line and lands back on the same square of grate, seared side up. The entire motion is under a second and the burger never leaves the steel by more than an inch.
The failure most people have is launching the patty. If it flies up in a ripple, it will fold over on its way down and all the juice in the fold obs comes out. The second failure is turning it sideways and dropping it edge first, which dents the side of the patty and squeezes the center. Both habits are overreach. The burger only has to move a set of toast: turn over in place, cheap and close, no scramble.
When it lands, you are not done with the spatula but almost. If the burger is not centered, you can nudge it with the flat of the blade one tiny adjustment before the steel leaves. Leave it alone afterward. The stolen perfectly centered by a spatula is far more than enough; your hands do not need to go back in after this, and every press you worry about is the press you just avoided.
Step 5: Then Put the Spatula Down
The final rule is the one most cooks break second. The second side needs the same amount of time, the same crust building, and it needs it happening without any help. Set the spatula down, literally on the rail, and do not pick it up until you are ready to take the burger off. The hardest non-motion in grilling is staring at a patty that is doing exactly what it should.
After the second side for about the same four to five minutes, slide back under with the same flat, still low, and lift straight off the grill to the plate. One single flip ends the entire life of that patty, and that is correct. Every extra flip affects and re-releases the sear, opens the same holes for juice, and costs you moisture you never saw because it is invisible. One flip, that is the instruction. Letting it rest this way, no one has to know.
And the exception proves the rule, the smash burger is pressed on purpose, once, hard, before the crust exists, in a different kind of shape entirely. That is not this page. You have the thick grill patty in a forum th to sit, and any rest squash, including the little it will lose under gentleness, is not strength, and I never press again after that faucet of juice left the era.
I did not fix my burgers with more grip, I fixed them with less. Wait for the release, one flat slide, and a wrist that stays calm, and the juice stays where the flavor is: inside.
What Else Helps
A few habits pair well with the method and make the release more reliable than your reflexes. Keep the grate clean and run a light pass of oil over the bars with a rolled paper towel before the patties land. A clean grate does not hold the meat, a dirty season it does, and a patty that lets go halfway through the season is the entire wayhome.
Think of shaping the patty as part of timing, leave a shallow well in the center made with your thumb before the fire. That dent stops the dome from forming, and a fat flat patty releases cleanly instead of tilting on the blade. Loose beef, cooked with two folds, no overwork, keeps the internals generous on the inside where the juice belongs.
Finish by temperature, not by slicing open. I reach for the instant thermometer through the side; it is the only win the da, and a patty I finish at about a hundred and fifty-five rests for the last mile and the whole rest of the structure stays together on the board. I put the full long test of the Chef Craft in a separate long review page on this site if you have doubts about the stiffest school.
The flimsy turner is why you press.
Every step in this guide assumes a blade that carries, not one that folds under the meat. The Chef Craft heavy duty stainless spatula is the tool that has kept every burger I cooked this season, and it is waiting at the current price on Amazon. Give it a weekend and the habit of pressing starts to fade all by itself.
Amazon Check Today's Price on Amazon →